Welcome to my first ever project on this blog. My goal is to build a warhammer themed digivice reminiscent of my childhood days. Throughout the development of this project, I will be posting updates with small tutorials on how I've implemented specific functions of the device.
What is a digivice?
Digivices were these cool toys which tracked your steps using a pendulum type pedometer which used to make a clicking sound with each step you took. These steps would then be counted allowing you to "progress" through areas of a map, and subsequently battle different digital monsters (Digimon) and eventually fight the boss.
I thought these were an effective way to get kids to exercise back in the day and also get outside of the house into the great outdoors, which is what too many parents want their kids to do nowadays. However kids cheated the game anyway by shaking the digivice to simulate steps and thus progress faster in the game. Nonetheless, it was one of the toys which I enjoyed the most.
 |
| Digivice: Source |
Outline of project
I intend to create my own version of the digivice but with a warhammer 40k theme, because warhammer 40k has the most bad ass lore out of every sci-fi universe I've ever seen. The story of WH:40K is basically 40,000 years in the future where multiple alien civilizations including the human race are fighting for dominance over the galaxy. |
| Space marine from the WH40k universe: Source |
Current Hardware List
I'll be using an atmega328p microcontroller as that is my most familiar microcontroller family (the same chip that's used on the arduino uno). However I'll be avoiding using Arduino libraries and go straight to avr-c so I can get down and dirty as close to the hardware as possible (so called bare metal programming).I'll also be using a couple existing libraries to save time and modifying them to suit my needs.
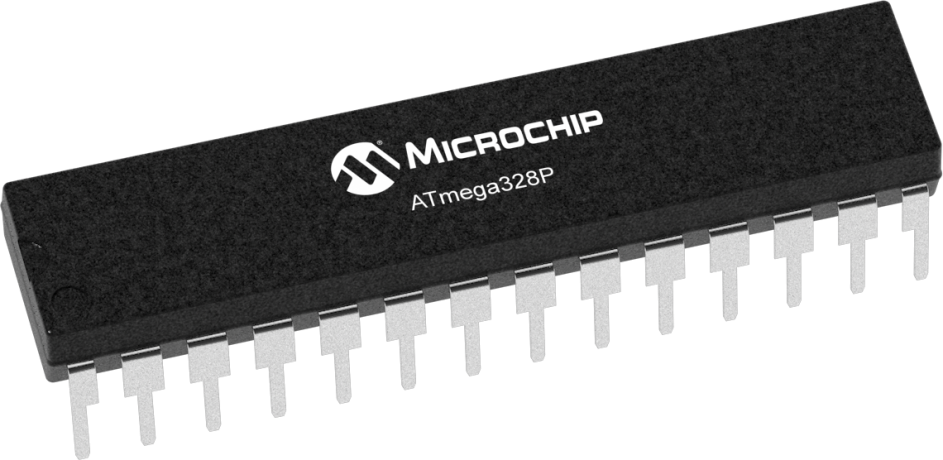 |
| ATmega328p Micocontroller: Source |
My screen of choice is the cheap and low power Nokia5110 LCD displays. Knowing they're made by Nokia, they're probably close to indestructible. These displays also interface quite nicely with the atmega328p with several libraries already out there. There is a slight issue with them which I'll detail in a later post.
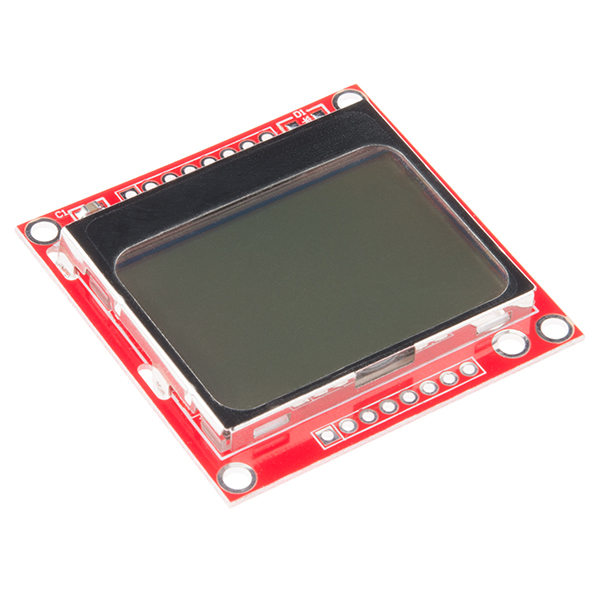 |
| NOKIA5110 LCD Display: Source |
I'm still yet to find a pedometer for my digivice but it will most likely be one of those cheap accelerometer modules.
As for power, a simple boost/buck converter will suffice given I will run this off a couple of AA or AAA batteries.
Equipment

The main thing i will most likely be using is the lab power supply. The oscilloscope will be useful for checking for correct clock rates for example, the main crystal oscillator and the SPI clock rate. I also have a PC with an arduino nano connected via usb, and which I will explain its use in the next blog post.
Forward
In the next blogpost, I will be describing the first step in the process which is to setup the atmega328p and flash the first program onto it. Look forward to it!